Hyper Realistic Ragdoll Mechanics Guide: Physics Tips
Hyper Realistic Ragdoll mechanics guide covering body damage, PC controls, Body Scan, healing tools, KO unlocks, and disasters. Learn what to try next.
Jump to
How Ragdoll Physics and Body Damage Work
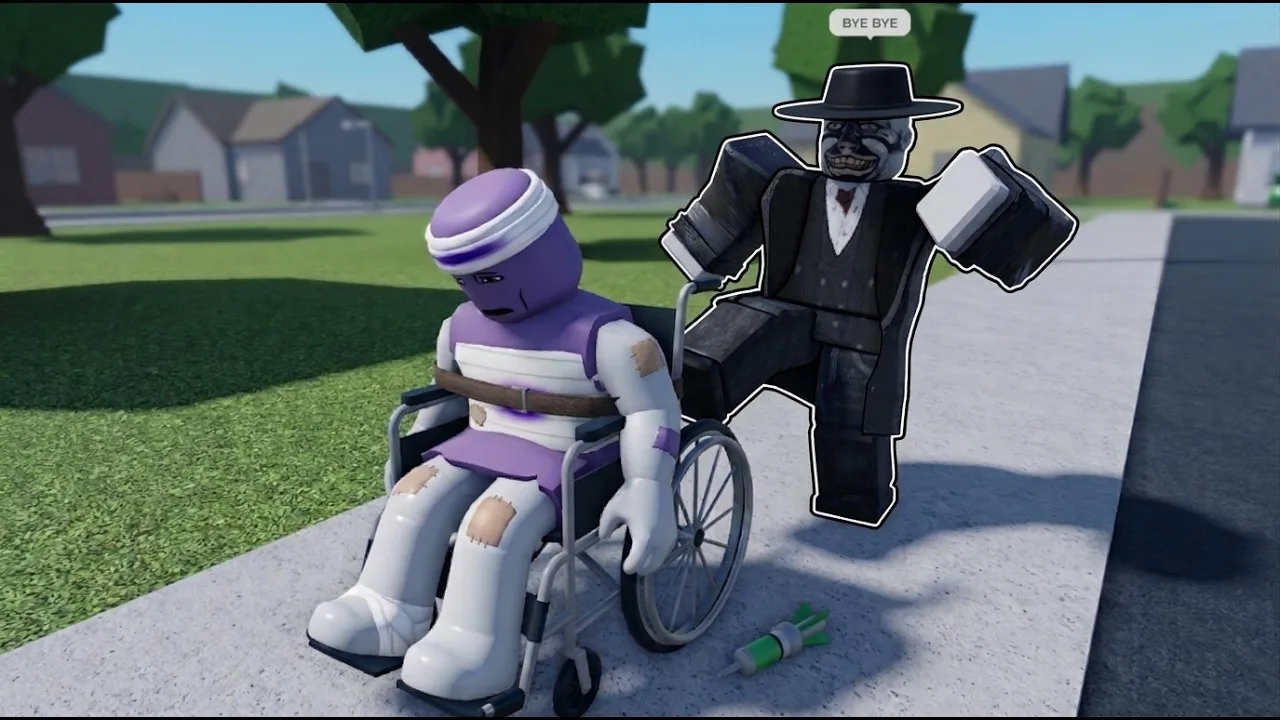
A dummy hitting the ground tells only half the story—the damaged body part determines what happens when it tries to stand. This Hyper Realistic Ragdoll mechanics guide explains how to read those reactions, inspect injuries, and use the sandbox’s tools. Learn that loop and you can understand why one dummy gets back up while another starts crawling.
Hyper Realistic Ragdoll gives individual body parts their own physical reactions. An impact can change a limb’s movement, while the resulting fall creates another interaction with the ground or nearby objects.
| Body part affected | Reaction |
|---|---|
| Injured leg | The dummy limps |
| Broken leg | The dummy crawls |
| Broken arm | The arm hangs limp |
| Head impact | The dummy can faint |
Falling over does not automatically mean a dummy is finished. Dummies can stumble, recover, and fight back. Watch what happens after the initial impact before deciding whether to revive, scan, or continue an experiment.
To compare reactions, target a different body part on a fresh dummy while keeping the weapon the same. Changing both the weapon and the target area makes the results harder to separate.
Official page: Hyper Realistic Ragdoll (roblox.com)
PC Controls: Spawn, Grab, Throw, and Recover
These shortcuts cover the main interactions on PC:
| Input | Action |
|---|---|
| G | Spawn a dummy |
| R | Revive a dummy |
| V | Open Body Scan |
| C | Make your character fall or recover |
| Left mouse button | Grab a dummy |
| Mouse wheel while grabbing | Adjust the grabbed dummy’s distance |
| Right mouse button while grabbing | Throw the dummy |
Grabbing lets you move a dummy, swing it around, or throw it without using a weapon. Collisions still interact with the ragdoll system, so the landing matters as much as the launch.
Practice in an open area before moving to walls or machines:
- Press G to create a dummy.
- Grab it with the left mouse button.
- Adjust its distance with the mouse wheel.
- Throw it with the right mouse button.
- Watch the landing, then inspect its condition with V.
Repeat the throw toward a breakable object to compare the result with an open-ground landing. Keep the setup simple enough that you can follow the dummy throughout the collision.
Remember that C controls your own character’s ragdoll state. Use it to recover when your character has fallen over.
Body Scan, Healing, and Revival
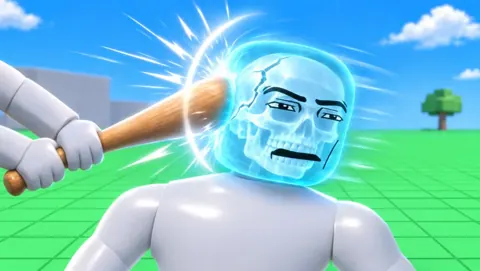
Body Scan gives you an X-ray view of a dummy’s condition, including broken bones. Use it to connect a visible behavior—such as crawling or a limp arm—to the damage underneath.
Build your experiments around a short inspection loop:
- Spawn a fresh dummy.
- Apply one impact or interaction.
- Open Body Scan.
- Compare the injury with how the dummy moves.
- Revive it or spawn another dummy before changing the test.
Scanning between interactions helps you distinguish the original injury from damage caused by a later fall. A dummy thrown into a wall and then struck by debris has experienced several separate collisions.
Recovery is available through the R shortcut and Medic tools, including the Defibrillator, Heal Dart, and Medkit. These tools let you restore characters and continue interacting with them.
Keep recovery experiments away from active hazards. Move a dummy clear of a crusher, fire, or other ongoing danger before trying to observe what healing changes.
Tools, KO Progression, and Unlocks
Tools are organized into six categories: Melee, Guns, Throw, Power, Medic, and Robux. They give you different ways to damage, move, or restore dummies.
You begin with several options already available:
- Fire Axe and Fists for melee interactions.
- Pistol for shooting.
- Grenade for explosive interactions.
- Push Gun for experimenting with force.
Additional tools unlock at specific KO totals. The Next indicator on the right side of the screen shows the upcoming unlock and your progress toward it.
These milestones introduce several useful changes to your experiments:
| Tool | KO requirement |
|---|---|
| Bat | 5 KOs |
| Hand Cannon | 10 KOs |
| Balloon | 30 KOs |
| Defibrillator | 100 KOs |
| Heal Dart | 110 KOs |
| Medkit | 150 KOs |
| Katana | 400 KOs |
| TNT | 700 KOs |
| Frost Gun | 1,100 KOs |
| Sledgehammer | 2,000 KOs |
| Lift Gun | 3,300 KOs |
| Storm Staff | 11,800 KOs |
For faster KO progression, aim at dummy heads with the Pistol or Hand Cannon. For learning the injury system, target limbs instead so you can observe changes in movement before the interaction ends.
Switch tools with a specific comparison in mind. Use the Katana to explore close-range slashing, the Sniper for distant shots, or the Flamethrower for damage across a spread.
The Robux category includes the Rocket Launcher, Minigun, Laser Cutter, Void Gun, Zombie Dart, and Energy Blade. These are purchased with Robux rather than unlocked through KO milestones.
Destructible Structures, Machines, and Vehicles
Walls, towers, and trees can break apart. Their falling pieces create additional collisions, turning the environment into part of the experiment.
Separate structural destruction from dummy damage when learning how an object behaves. Break a wall on its own, watch where the pieces fall, and then introduce a dummy into the same area. That gives you a clearer view of whether the initial impact or the collapsing structure caused the reaction.
Large interactive objects around the map include:
- Giant fans
- Rockets
- Cannons
- Crushers
- The Fight Ring
Try each machine separately before combining it with another hazard. A fan changes a dummy’s movement; adding a nearby wall gives that movement a collision to end on. A crusher creates a different interaction from launching a dummy through open space.
The map also includes a Car, Monster Truck, and Battle Tank. The Battle Tank adds a large gun to the vehicle interactions. Check the purchase prompt before choosing a vehicle—the Monster Truck and Battle Tank have Robux access options.
Use the Fight Ring to explore close-range combat and dummy retaliation. Its focused setting makes it easier to follow a fight than an area filled with moving vehicles and collapsing objects.
Environmental Events and Their Effects
Events change the conditions around your experiments. Some move characters and objects, while others add new threats or alter dummy behavior.
- Tornado: Pulls objects and characters toward it.
- Tsunami: Sends a large wave through the environment.
- Meteor Rain: Creates destructive impacts from falling meteors.
- Zombie Outbreak: Introduces undead characters from the graveyard.
- Weightless: Removes gravity and changes how movement behaves.
- Disco Party: Makes dummies dance, including injured ones.
- Giant Dummy: Introduces an oversized character.
- Wildfire: Spreads a large fire across the map.
Use Weightless to explore how removing gravity changes the same interactions you tried under normal conditions. Compare a throw before and during the event rather than changing weapons at the same time.
During Tornado, Tsunami, or Meteor Rain, follow one dummy through the event. Watching its path makes it easier to understand the sequence of impacts than looking only at its final position.
Save detailed Body Scan comparisons for a quieter moment. Multiple hazards can damage the same dummy in quick succession, making a single injury harder to connect to one cause.
Living Dummies, Wildlife, and Zombies
Dummies have behaviors beyond their physical reactions. They talk, panic, help one another, and can retaliate after taking damage. Some get back up without your assistance.
Pause after an interaction and watch nearby NPCs. Immediately grabbing or attacking again can interrupt the behavior you were trying to see. Leave space around an injured dummy if you want to watch another character approach and help.
The world also contains sharks, crocodiles, giant spiders, and a T-Rex. These creatures add interactions beyond weapons and machinery. Observe one creature at a time, with nearby hazards inactive, so you can follow the encounter.
Zombies connect the graveyard with another set of NPC interactions. They rise from the graveyard and can spread infection to other dummies. Keep ordinary dummy experiments away from an active outbreak if you want to compare their usual movement and reactions; introduce zombies when you are ready to explore infection and combat together.
Continue with
 Hyper Realistic Ragdoll Physics: How the Sandbox WorksExplore Hyper Realistic Ragdoll physics, learn Body Scan controls, compare unlocks, and experiment with breakable buildings, hazards, and dummy behavior.
More in Mechanics
Hyper Realistic Ragdoll Body Scan: X-Ray & Bone Guide
Learn how the Hyper Realistic Ragdoll body scan works, press V to inspect broken bones, and use recovery tools to keep your experiments moving forward.
Hyper Realistic Ragdoll Destruction: How to Break It
Explore Hyper Realistic Ragdoll destruction with breakable towers, explosive tools, vehicles, and disasters. Learn the controls and plan the next collapse.
Hyper Realistic Ragdoll Fall Damage: Drops and Recovery
Explore Hyper Realistic Ragdoll fall damage, inspect broken bones with Body Scan, and learn the PC controls and recovery tools for your dummy drop test.
Hyper Realistic Ragdoll How To Ragdoll: PC Controls
Hyper Realistic Ragdoll how to ragdoll guide: learn the PC fall and recover control, grab and throw dummies, scan injuries, and use tools to revive them.
Continue exploring
Hyper Realistic Ragdoll Settings: Speed and Gravity
Adjust Hyper Realistic Ragdoll settings for movement speed and gravity, learn PC controls, and use Body Scan to compare dummy experiments step by step.
Hyper Realistic Ragdoll Beginner Guide: Start Here
Use this Hyper Realistic Ragdoll beginner guide to learn PC controls, scan and revive dummies, earn KO unlocks, and explore vehicles and disasters safely.
Join the community
Official channels for news, updates and player help: