Hyper Realistic Ragdoll Beginner Guide: Start Here
Use this Hyper Realistic Ragdoll beginner guide to learn PC controls, scan and revive dummies, earn KO unlocks, and explore vehicles and disasters safely.
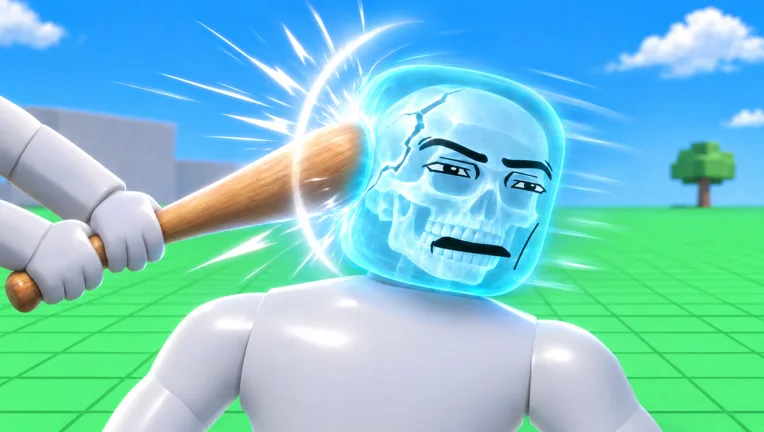
Learn the Controls Before Chasing KOs
A fallen dummy can get back up and fight back. Understanding its condition helps you decide whether to keep experimenting, use a recovery tool, or spawn another character. This Hyper Realistic Ragdoll beginner guide walks you through the controls, early unlocks, and map features that make the sandbox worth exploring.
1. Practice spawning, grabbing, and recovering
Hyper Realistic Ragdoll gives you an open physics playground filled with interactive dummies, breakable structures, tools, and hazards. Start by learning how to move characters around and inspect the results.
On PC, these controls handle several core actions:
| Input | Action |
|---|---|
| G | Spawn a dummy |
| R | Revive an inactive dummy |
| V | Open Body Scan |
| C | Make your character fall or recover |
| Left mouse button | Grab a dummy |
| Mouse wheel | Adjust a grabbed dummy’s distance |
Spawn a dummy in an open area, grab it, and adjust its distance before experimenting with swinging and throwing. Keep these early tests away from machinery so you can follow what happens to the character.
Remember that C controls your own character’s fall and recovery. Use the dummy revival control when you want to restore an inactive NPC.
Official page: Hyper Realistic Ragdoll (roblox.com)
Understand Body Damage and Dummy Behavior
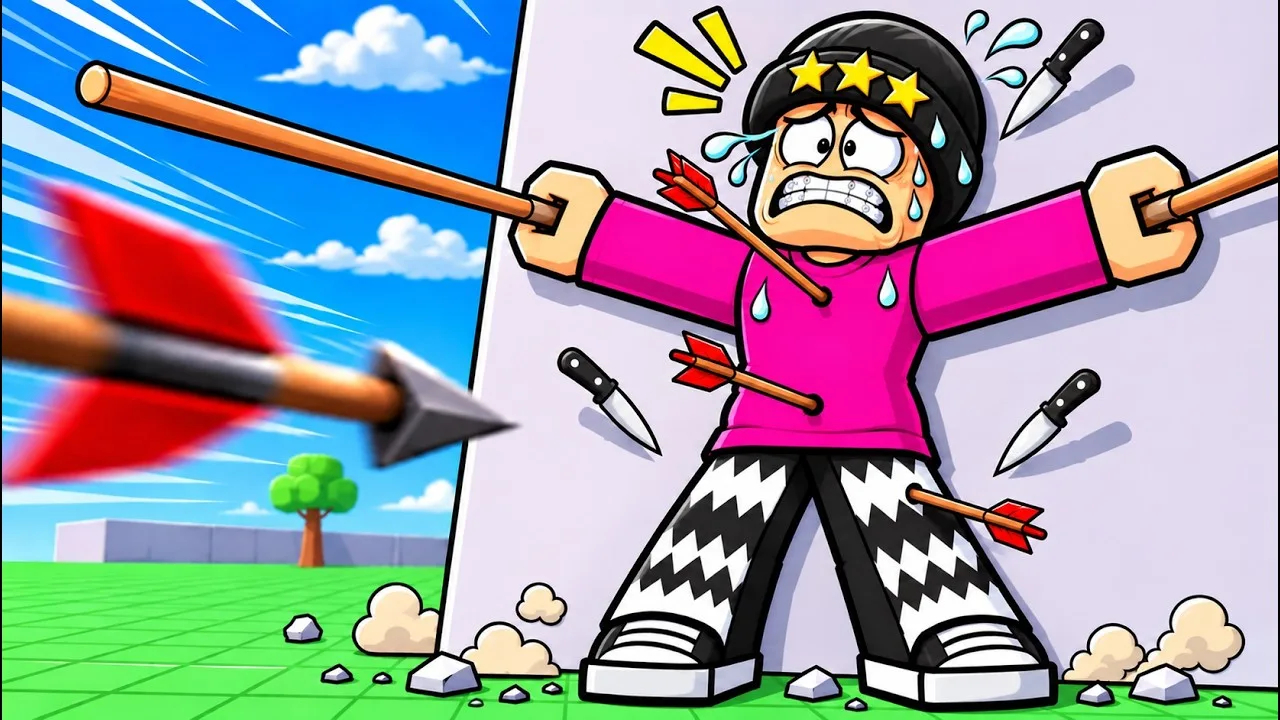
2. Compare limb damage with Body Scan
Each body part responds independently to impacts. Where you aim affects how a dummy moves afterward:
- Damaged leg: The dummy can start limping.
- Broken leg: The dummy can crawl.
- Broken arm: The affected arm hangs limp.
- Head impact: The dummy can faint.
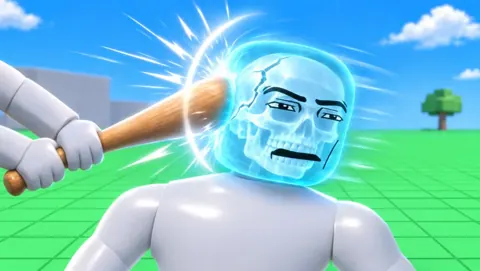
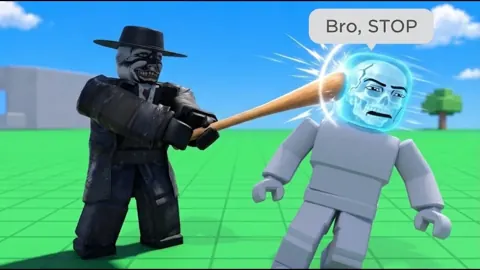
Press V to examine broken bones through the X-ray-style Body Scan. Use it after individual impacts to connect the visible reaction with the affected body part.
Try a leg hit, watch the dummy move, and then inspect it. Repeat with a fresh dummy when comparing another body part. Changing one thing at a time makes the physics easier to understand.
3. Watch what dummies do after an impact
Dummies can talk, panic, help one another, stumble, recover, and retaliate. A character lying on the ground is not necessarily finished interacting with the world.
Give a fallen dummy a moment before spawning a replacement. Watch whether it gets up or another NPC approaches to help. When testing a weapon at close range, leave yourself room to move because the target can fight back.
Earn KOs and Unlock More Tools
4. Follow the Next indicator
KOs unlock additional equipment. The Next indicator on the right side of the screen shows your upcoming reward and progress toward it.
Your starting tools include the Fire Axe, Fists, Pistol, Grenade, and Push Gun. That selection already lets you compare melee attacks, gunfire, explosions, and force-based interactions.
Use the early milestones to choose a short-term goal:
| Total KOs required | Tool unlocked |
|---|---|
| 5 | Bat |
| 10 | Hand Cannon |
| 20 | Molotov |
| 25 | Rock |
| 30 | Balloon |
| 35 | Bow |
| 50 | Throwing Knife |
| 60 | Poison Dart |
| 70 | Spear |
| 75 | Taser |
| 90 | Toxic Flask |
| 100 | Defibrillator |
| 110 | Heal Dart |
| 125 | Grow Gun |
| 150 | Medkit |
Aim for the Hand Cannon at 10 KOs if you want another firearm early. Continue toward 100 KOs to unlock the Defibrillator and expand your recovery options.
5. Separate KO runs from physics experiments
For quicker KOs, aim at dummy heads with the Pistol or Hand Cannon. When you want to study limping, crawling, or arm movement, target those body parts instead.
Watch the KO counter and Next indicator rather than assuming every collapse counts as a knockout. Dummies can faint or fall and later recover.
Later milestones include the Harpoon at 200 KOs, Shotgun at 250, Katana at 400, and TNT at 700. There is no need to wait for those unlocks before exploring the map.
The Robux category contains separate paid tools, including the Rocket Launcher, Minigun, Laser Cutter, Void Gun, Zombie Dart, and Energy Blade. KO grinding does not unlock those purchases.
Learn Recovery Before Using Bigger Hazards
6. Use revival controls and Medic tools
You can restore inactive dummies with R on PC. The Medic category also provides the Defibrillator, Heal Dart, and Medkit as you reach their KO requirements.
Practice recovery during smaller experiments before moving on to destructive machinery. Try this sequence:
- Spawn a dummy with G.
- Perform a controlled impact.
- Open Body Scan with V.
- Inspect the affected body parts.
- Revive the inactive dummy with R, or use an unlocked recovery tool.
Scan between experiments so you can distinguish damage from the current test and damage left by an earlier one.
Avoid assuming that a dummy’s movement tells you everything about its condition. Body Scan gives you a closer look at broken bones, while its behavior shows how those injuries affect movement.
Explore Machines, Vehicles, and Wildlife
7. Try map features individually
The map contains a giant fan, rocket, cannon, crusher, and Fight Ring. These provide different ways to interact with dummies beyond equipping another weapon.
Start with one machine and one dummy. Watch the direction of movement and where the character lands before adding more NPCs or nearby hazards.
The Fight Ring provides a dedicated space for close-range combat. Visit it when you want to watch fighting behavior without combining it with a disaster or vehicle collision.
Walls, towers, and trees can also break apart. Test a structure separately before placing dummies nearby so you can see how its collapse affects the surrounding area.
8. Check access before choosing a vehicle
Vehicles include a Car, Monster Truck, and Battle Tank. Use the Car to explore and experiment with collisions against destructible scenery.
The Monster Truck and Battle Tank have paid passes. Check their access requirements before planning an experiment around either vehicle.
Wildlife includes sharks, crocodiles, giant spiders, and a T-Rex. Bring a fresh dummy when trying a creature interaction so earlier injuries do not complicate what you see. Keep recovery practice separate from these encounters, where the interaction can quickly become much more destructive.
Try Events After Learning Normal Physics
9. Compare disasters with smaller events
Environmental events change the conditions of the sandbox. Explore the regular map first so you can recognize what an event adds.
Available events include:
- Tornado: Pulls characters and objects toward it.
- Tsunami: Sends a large wave through the environment.
- Meteor Rain: Drops meteors that create destructive impacts.
- Zombie Outbreak: Introduces undead characters from the graveyard.
- Weightless: Removes gravity and changes movement.
- Disco Party: Makes dummies dance, including injured ones.
- Giant Dummy: Adds an oversized character.
- Wildfire: Introduces a large fire across the map.
Use Weightless to compare movement with normal gravity, or watch Disco Party to see how injured dummies react to forced dancing. Save large disasters for after your smaller tests; moving debris and multiple impacts make individual reactions harder to follow.
10. Check purchase prompts before activating extras
The sandbox includes paid passes for features such as Lab Controls and Endless Events. Inspect the relevant menu before purchasing access.
If you have access to Lab Controls, experiment with movement speed and gravity separately. Change one setting, repeat a familiar interaction, and compare the result. Raising speed while changing gravity at the same time makes it harder to tell which adjustment caused the difference.
Continue with
 Hyper Realistic Ragdoll Controls: PC Keys ExplainedLearn Hyper Realistic Ragdoll controls for PC, including spawning, grabbing, throwing, Body Scan, and reviving dummies. Master the keys and experiment.
More in Getting Started
Hyper Realistic Ragdoll Progression: KO Unlock Guide
Master Hyper Realistic Ragdoll progression with KO milestones, tool unlocks, and farming tips. Plan your route from starter weapons to the Storm Staff.
Hyper Realistic Ragdoll Worth It? Gameplay and Costs
Is Hyper Realistic Ragdoll worth it? Explore its physics, Body Scan, KO unlocks, and Robux purchases to decide what to try before spending on extra tools.
Continue exploring
Hyper Realistic Ragdoll Mechanics Guide: Physics Tips
Hyper Realistic Ragdoll mechanics guide covering body damage, PC controls, Body Scan, healing tools, KO unlocks, and disasters. Learn what to try next.
Hyper Realistic Ragdoll Physics: How the Sandbox Works
Explore Hyper Realistic Ragdoll physics, learn Body Scan controls, compare unlocks, and experiment with breakable buildings, hazards, and dummy behavior.
Join the community
Official channels for news, updates and player help: